Why Van Insulation Matters More Than People Think
Cargo vans are built out of bare metal. That means every bump in the road, every gust of wind, and every temperature swing gets transferred directly into your living space unless you do something about it. Poor insulation doesn’t just make a van loud and uncomfortable — it can lead to serious long-term problems like condensation trapped inside your walls, mildew growth, and even rust damage to the van’s structure over time.
That’s why insulation isn’t a step to rush or cut corners on. It’s the foundation that everything else in your build sits on top of.
Step One: Sound Deadening
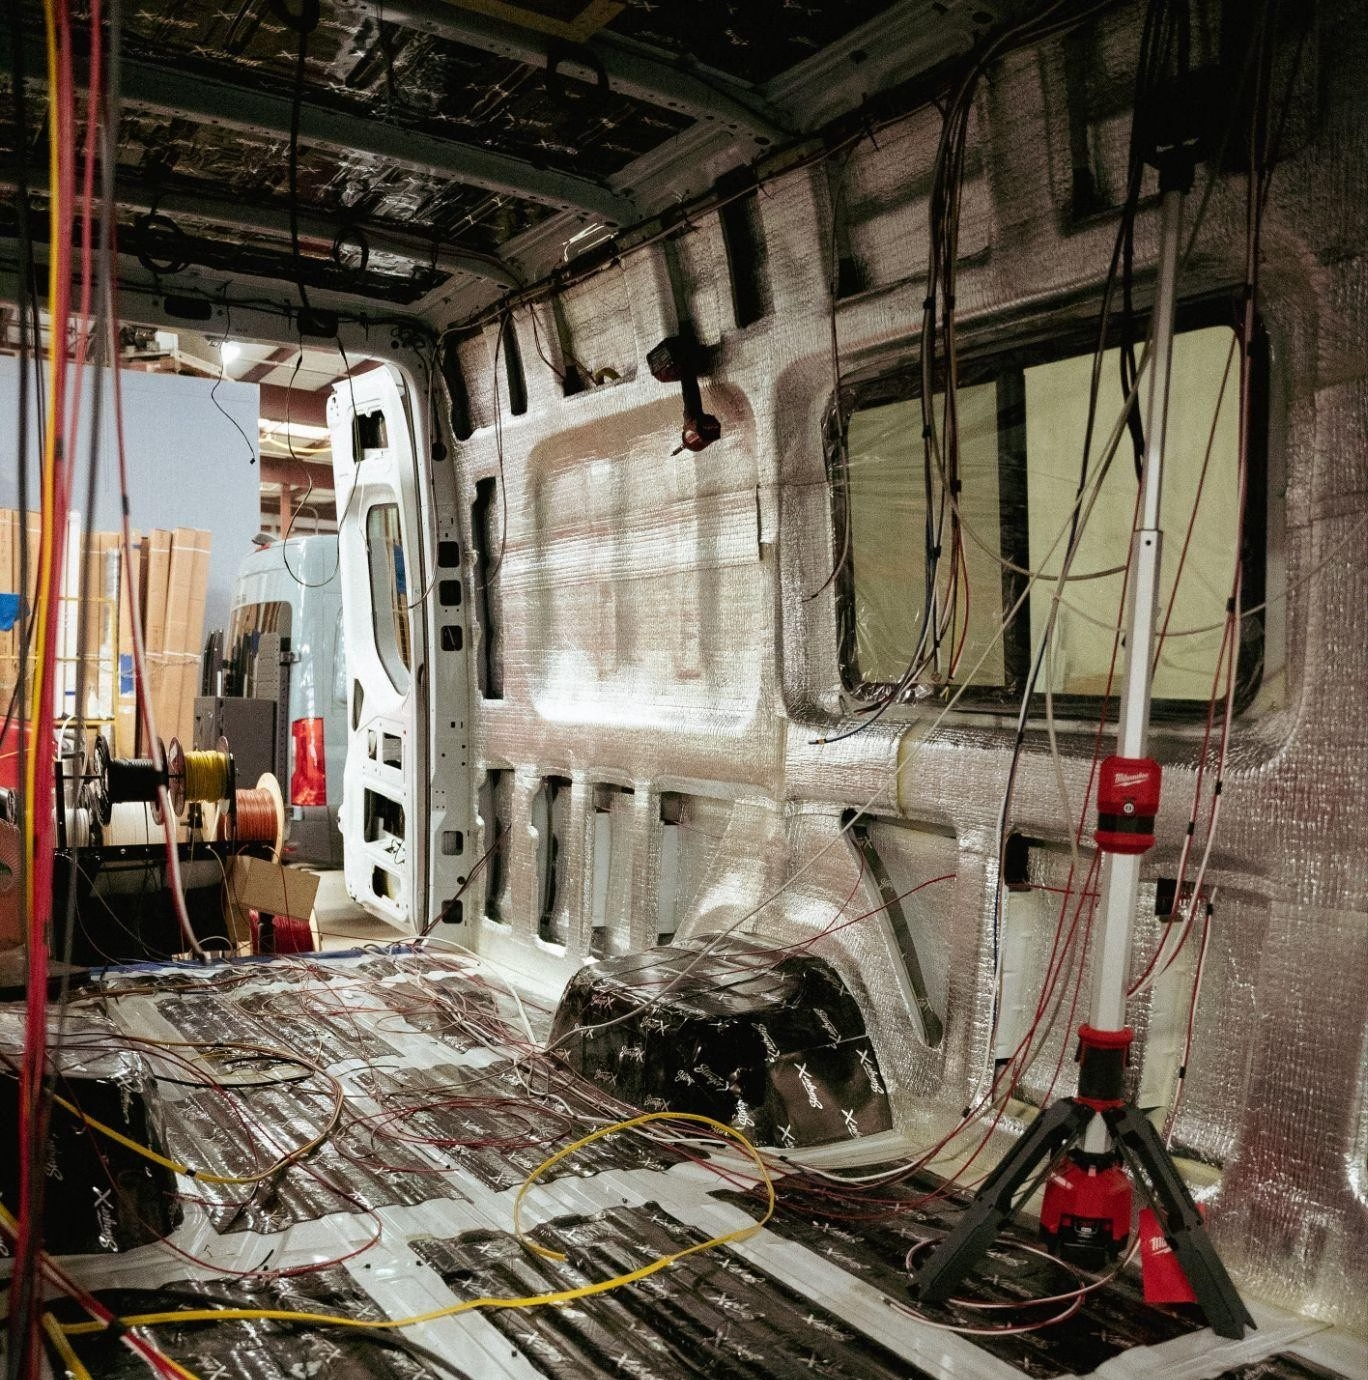
Before any insulation goes in, the first step is applying a sound deadening material across every metal surface inside the van. This layer absorbs the vibration that naturally comes from a cargo van’s metal panels, cutting down on road noise and that hollow, tinny rattle you get from an unfinished van interior.
Skipping this step is one of the most common mistakes we see in vans that come through our shop for repairs. Without it, no amount of insulation on top will fully solve the noise and vibration issues down the road.
Step Two: Thermal and Moisture Barrier
Next comes a foil-style, low-E Mylar barrier, which gets wrapped across every surface of the van — including the beams and the ceiling. This layer is critical for temperature regulation and moisture control.
Here’s why it matters: as you drive through different climates and temperature ranges, condensation can form inside your van’s walls if there’s no proper moisture barrier in place. That trapped moisture is exactly what leads to mold, mildew, and long-term damage. A properly installed thermal and moisture barrier reduces — and in most cases eliminates — that risk entirely.
Step Three: Void-Filling Insulation
The final step is filling every remaining void and gap with a mildew-resistant insulation material. This isn’t a “close enough” step — every possible pocket and space gets tucked and filled. The goal is a fully insulated shell with no thermal gaps, because even small uninsulated areas can undermine your van’s ability to regulate temperature.
Whether it’s the middle of summer or the dead of winter, a properly insulated van should be able to hold a comfortable interior temperature regardless of what’s happening outside.
The Bottom Line: You Can’t Over-Insulate a Van
When it comes to van conversions, there’s really no such thing as over-insulating. More insulation means better temperature regulation, less noise, and less risk of moisture problems — as long as it’s installed correctly using the right materials in the right order.
If you’re in the process of building out your own van, following this three-step approach — sound deadening, thermal/moisture barrier, then void-filling insulation — will set you up for a comfortable, durable build that holds up for years.
Want to See the Full Process in Action?
Reading about it is one thing, but watching how it’s actually done makes all the difference. In our latest Behind the Build video, Jonny walks through this entire insulation process inside a real Field Van build, showing exactly where each material goes and why.
Watch the full video on the Field Van YouTube channel to see the complete insulation process from start to finish.
And if you’ve already got a van that’s dealing with noise, condensation, or temperature issues from a previous insulation job, we can help with that too. Contact Field Van today to learn more about our insulation process or to get a repair quote on your current build.
Field Van specializes in custom camper van builds and repairs, helping van lifers and overlanders build out vans that are comfortable, durable, and built to last. If you have any questions at all, reach out to our team today: https://fieldvan.com/contact/